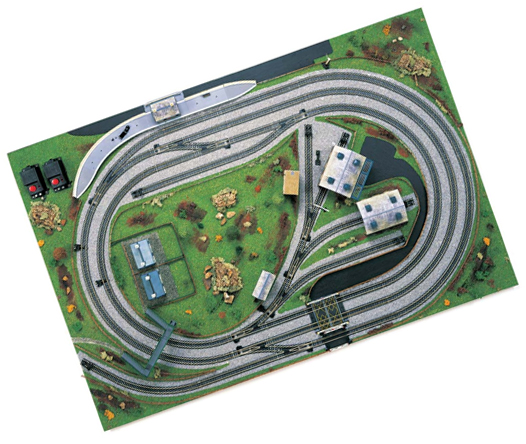
The ONLY Time Tested Way to Lay Model Railroad Track 3
Top 10 Track Laying Tips
- Stagger all of the joints in the track, roadbed, and sub roadbed
- Avoid humps or dips in the track, especially near curves, turnouts, and places where grades begin or end
- Drive spikes gently, using just enough pressure to seat them without putting a vertical kink in the rail
- If you’re using track nails, drive them gently until they’re snug without distorting the plastic ties
- Carefully align every rail joint and make sure both rails are fully seated in the rail joiners
- Eliminate any potential bump by removing the ties beneath a rail joint, sanding them thinner, and then replacing them
- Smooth the top inside corner of all rail joints with a small file until you can slide a fingernail over the joint without feeling any snagging
- Use a small file to sharpen all switch points to obtain a smooth path for the wheels to follow
- During installation, solder the wires to the underside of the rails so they’ll be hidden by the ballast
- Use a National Model Railroad Association gauge to check and adjust the spacing of the rails and guardrails in turnouts
Next, learn detailed step by step directions on the following:

- Cleaning track
- Grade crossings
- Manual switch controls
- From track plan to benchwork
- Laying road bed
- Easy easements
- Grades
- Laying flextrack on curves
- Sectional track
- Track terminology
The most important part to running smoothly operating model trains is planning trackwork ahead of time. To avoid endless frustration due to derailment issues, dirty tracks and trains that stop moving, understanding the trackwork is crucial. The best feeling in the world as a model railroader is enjoying a fully operation layout with all the bells and whistles.
